Browned pumpkin no-bake cheesecake delivers the cozy flavor of pumpkin pie with the silky texture of a chilled cheesecake. Browning canned pumpkin in a skillet drives off moisture and concentrates its flavor before you fold it into a gently spiced cream cheese filling. The result is a make-ahead fall dessert that looks impressive but never needs an oven for the filling.
Recipe at a Glance
| Prep Time | 25 minutes |
| Cook Time | 12 minutes (plus 6 hours chilling) |
| Total Time | 37 minutes active, 6+ hours chilling |
| Servings | 10 slices |
| Category | Dessert / No-Bake |
Why You’ll Love This Browned Pumpkin Cheesecake
- Cooking the pumpkin first creates a richer, less watery filling.
- A buttery graham cracker crust holds clean slices after chilling.
- You can prepare the dessert the day before entertaining.
- Warm spices complement pumpkin without overwhelming it.
Ingredients You’ll Need
- 2 cups graham cracker crumbs
- 7 tablespoons unsalted butter, melted
- 2 tablespoons light brown sugar, for crust
- 1 1/4 cups canned pure pumpkin puree (not pie filling)
- 2 tablespoons light brown sugar, for pumpkin
- 16 ounces full-fat block cream cheese, softened
- 3/4 cup powdered sugar
- 1 teaspoon ground cinnamon
- 1/2 teaspoon ground ginger
- 1/4 teaspoon ground nutmeg
- 1 teaspoon vanilla extract
- 1 cup cold heavy whipping cream
How to Make Browned Pumpkin No-Bake Cheesecake
- Mix graham crumbs, melted butter and 2 tablespoons brown sugar. Press into the bottom and slightly up the sides of a 9-inch springform pan. Refrigerate while preparing the filling.
- Spread pumpkin puree in a nonstick skillet over medium-low heat. Stir frequently for 10–12 minutes until darker, thick and fragrant. Stir in the remaining brown sugar, then cool completely.
- Beat softened cream cheese and powdered sugar until smooth. Mix in the cooled browned pumpkin, cinnamon, ginger, nutmeg and vanilla until uniform.
- In a separate cold bowl, whip heavy cream to stiff peaks. Gently fold it through the pumpkin-cheese mixture in two additions without knocking out the air.
- Spoon filling into the chilled crust and smooth the top. Cover and refrigerate for at least 6 hours, ideally overnight, until firm enough to slice.
- Release the springform ring and cut with a warm, wiped-clean knife. Serve chilled.
Tips for the Best No-Bake Pumpkin Cheesecake
- Cool the cooked pumpkin completely; warmth can soften the cream cheese and deflate whipped cream.
- Use block cream cheese rather than spreadable tubs for a reliable set.
- Do not replace pumpkin puree with sweetened pumpkin pie filling.
- For tidy slices, chill overnight and wipe the knife between cuts.
Variations to Try
- Use crushed gingersnap cookies instead of graham crackers for extra spice.
- Add 1 teaspoon instant espresso powder to the browned pumpkin for a subtle coffee note.
- Top each slice with a small spoonful of whipped cream just before serving.
How to Store It
Keep tightly covered in the refrigerator for up to 4 days. For longer storage, freeze individual slices well wrapped for up to 1 month; thaw overnight in the refrigerator. Keep the cheesecake chilled when serving and return leftovers promptly to the fridge.
Frequently Asked Questions
Why should I brown canned pumpkin puree for no-bake cheesecake?
Heating the puree evaporates excess water and deepens its roasted, caramel-like flavor. Cool it fully before adding it to the filling.
How do I make no-bake pumpkin cheesecake firm enough to slice?
Use full-fat block cream cheese, whip the cream to stiff peaks and chill for at least six hours. Overnight refrigeration is even better.
Can I make browned pumpkin cheesecake two days before Thanksgiving?
Yes. Make it up to two days ahead, keep covered and refrigerated, and add any garnish just before serving.
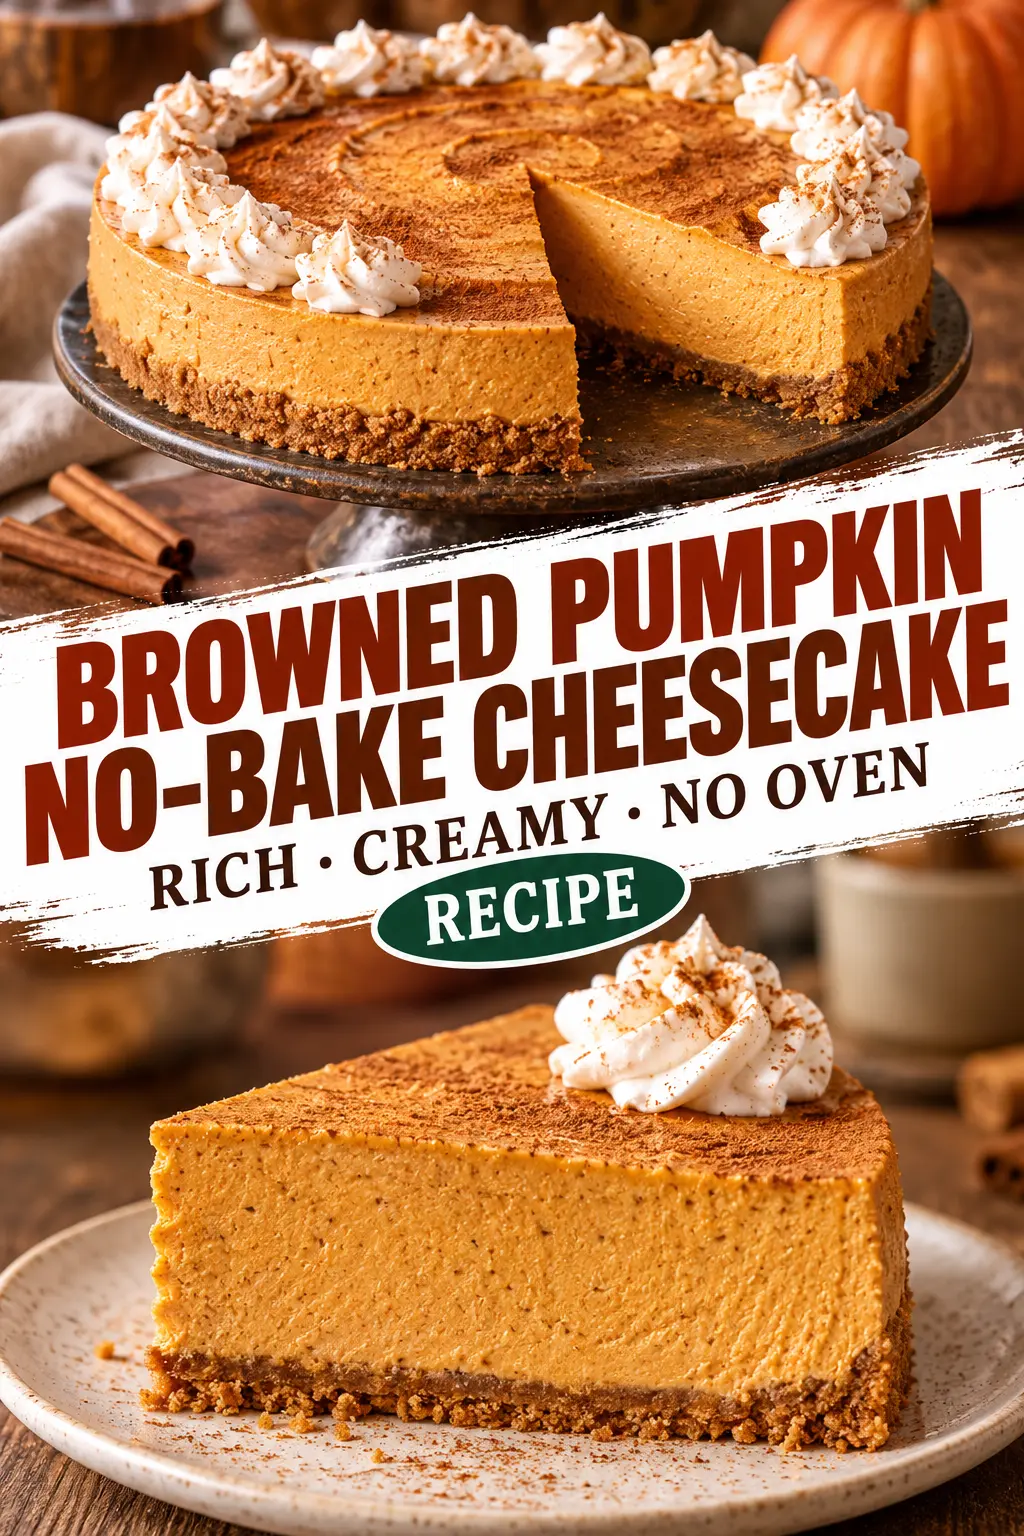
Browned Pumpkin No-Bake Cheesecake
Ingredients
Equipment
Method
- Step 1: Mix graham crumbs, melted butter and 2 tablespoons brown sugar. Press into the bottom and slightly up the sides of a 9-inch springform pan. Refrigerate while preparing the filling.
- Step 2: Spread pumpkin puree in a nonstick skillet over medium-low heat. Stir frequently for 10–12 minutes until darker, thick and fragrant. Stir in the remaining brown sugar, then cool completely.
- Step 3: Beat softened cream cheese and powdered sugar until smooth. Mix in the cooled browned pumpkin, cinnamon, ginger, nutmeg and vanilla until uniform.
- Step 4: In a separate cold bowl, whip heavy cream to stiff peaks. Gently fold it through the pumpkin-cheese mixture in two additions without knocking out the air.
- Step 5: Spoon filling into the chilled crust and smooth the top. Cover and refrigerate for at least 6 hours, ideally overnight, until firm enough to slice.
- Step 6: Release the springform ring and cut with a warm, wiped-clean knife. Serve chilled.
Notes
Calories are estimates per slice, based on 10 slices.